Workflow automation within Joforce helps to streamline your business process and lets you be more productive.
How to create and edit a new workflow in Joforce? #
It helps to automate the most repetitive task of sending emails, creating events, and records, updating the fields, and more. To create a new workflow,
- Go to Left SideBar → Settings → Navigate to the Automation section → Workflows → New Workflow in the top right corner.
- Provide basic information like
- Workflow Name – Enter a unique name for your Workflow
- Description – Add a note or description of your Workflow
- Target Module – Choose the desired Workflow
- Status – Mention the status for your Workflow
- Active – To run the workflow
- Inactive – If you no longer need to use the workflow, mark it as inactive.
- Now add the,
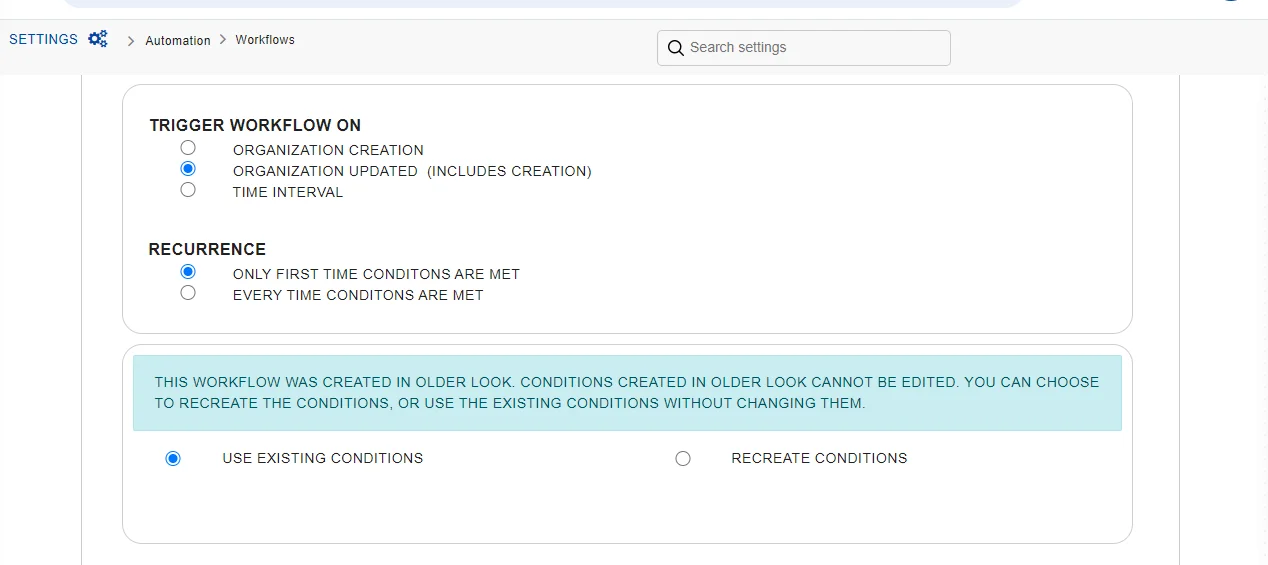
- Triggers – Specify when to run the workflow. The options include event creation, event updated (includes creation), and time interval
- Recurrence – To run the workflow when the conditions are met. The options include, only the first time conditions are met and every time the conditions are met
- Actions – The action to be done, will be running the workflow
This workflow was created with an older look. Conditions created in the older look cannot be edited. You can choose to recreate the conditions or use the existing conditions without changing them.
- Finally, hit Save
Adding triggers in Workflow #
Joforce lets you specify triggers, i.e. specify when to run the workflow. Joforce offers 3 default triggers,
- On record Creation – It is triggered whenever a new record is created on the specified module.
- On record Updation – It runs the workflow when a record is updated. It consists of 2 Recurrence options,
- Only the first-time conditions are met – Runs when the workflow conditions are met. Once executed, the workflow will not be triggered on the same records but triggered on all the other records.
- Every time conditions are met – Triggered when the conditions are met. Triggers workflow more than once on the same record.
- Time interval – Specify the time interval to run the workflow at periodic intervals. Joforce offers 6 different time intervals by default.
- Per Hour – Run every hour
- Daily – Triggers workflow daily. Specify the time to run it.
- Weekly – Specify the day and time to run the workflow. You can select any no.of days. The workflow runs every week on the chosen day and time.
- Specific Date – Mention the specific date and time to run the workflow.
- Monthly by date – Enter the date and time. In a month, you can run the workflow on any no. of days. Joforce automatically runs the workflow on the selected date and time every month.
- Annually – select the date and time. Automatically triggers workflow on the specified date and time of every year.
Adding conditions to Workflow #
With Joforce you can easily add filters to your Workflow. To add workflow, click on Add condition. Joforce offers you 2 different conditions,
- All Conditions (AND) – Triggers workflow, when all the conditions are met
- Any condition is met (OR) – Triggered, when at least any one of the conditions is met
- Ex: consider you’ve added three conditions,
- Condition 1 AND Condition 2 AND Condition 3 – Run Workflow if all the conditions are met. If anyone fails, then the workflow will not be executed
- Condition 1 OR Condition 2 OR Condition 3 – Run workflow, if any one of the conditions is met.
By default, the AND condition is enabled between the All Conditions and Any condition is met
Configuring related actions to the workflow #
Actions are tasks that will be executed once the defined workflow is triggered. With Joforce, you can automate 6 different tasks. To add a task, click on the Add Action, Choose the appropriate option from the drop-down.
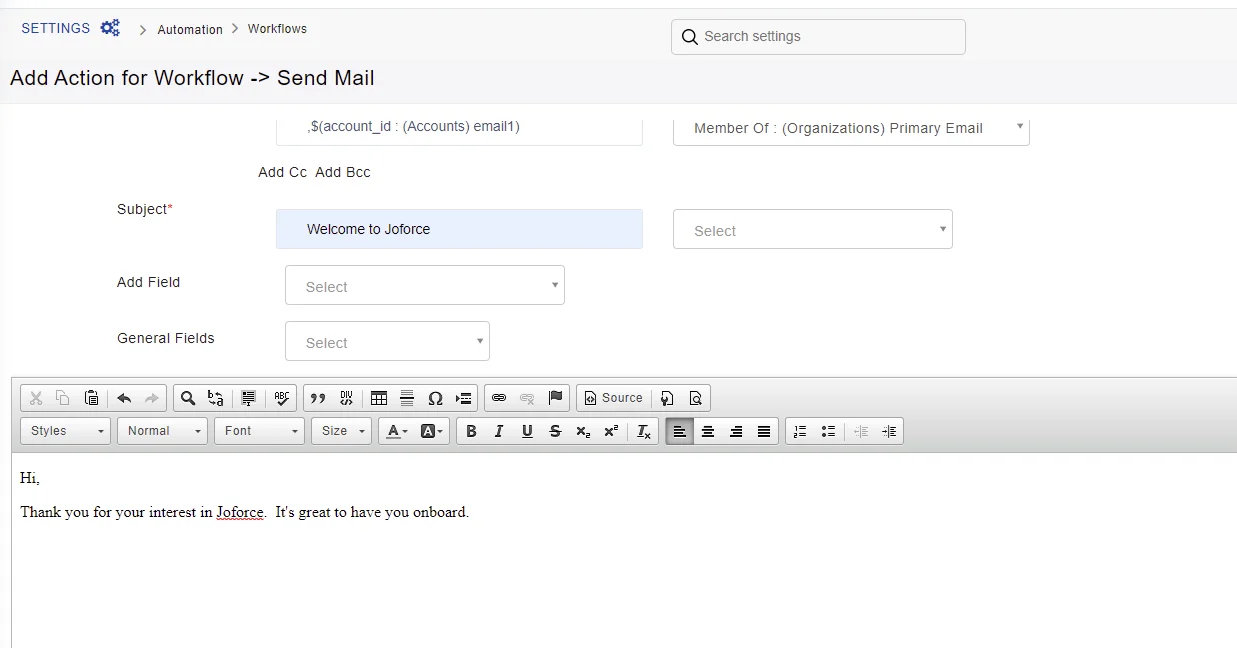
- Send Mail
- Action Title – Provide the title for your Action
- Provide the From, To Reply-To, and subject
- Add your email Content, and Click Save.
- Invoke Custom Function – Update the target fields of records in one module when action is performed on the source field of another module. It requires code level changes, kindly refer here.
- Create Task – Create a new task
- Provide the Action Title, your Task Title, and Description
- Choose the Status – Not Started, In Progress, Completed, Pending Input, Deferred, Planned
- Select the desired Priority – High, Medium, Low
- To Assign this task to your users, Choose the appropriate user in Assigned To
- Mention the Due date and time
- Check on the Send Notification to get notifications related to the task.
- Finally Click on Save
- Create Event – Create a new calendar event
- Add the Action Title, Event Name, and Description.
- Mention the Status, whether it is Planned, Held, and Not Held.
- Provide the Type of action – Call, Meeting, Mobile Call
- Assign the event to one of your users using Assigned To
- Finally, mention the Start and End dates and time for the task.
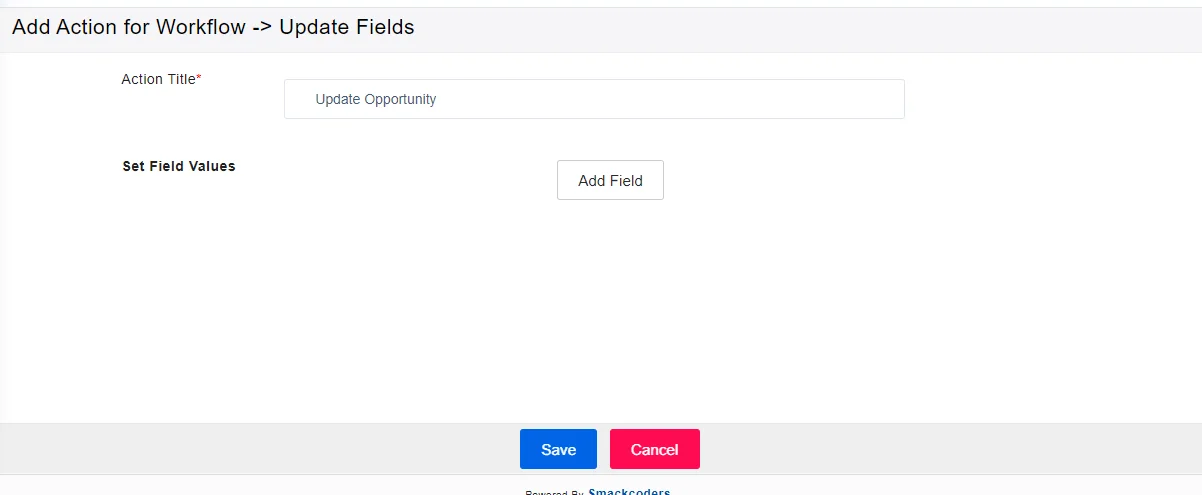
- Update fields – Update the fields of the selected module
- Provide the appropriate title, then click on Add Field. You can use any no.of fields based on your needs.
- Displays two fields, one is the target field – the values of this field get updated and the other is the source field – enter the values to be updated.
- Choose the desired field from the drop-down of the first column
- Click on the source to provide the value, and a pop prompts, gives you 3 set of options,
- Raw Text – To add a plan text value
- Field – To add field values
- Expression – To define calculations
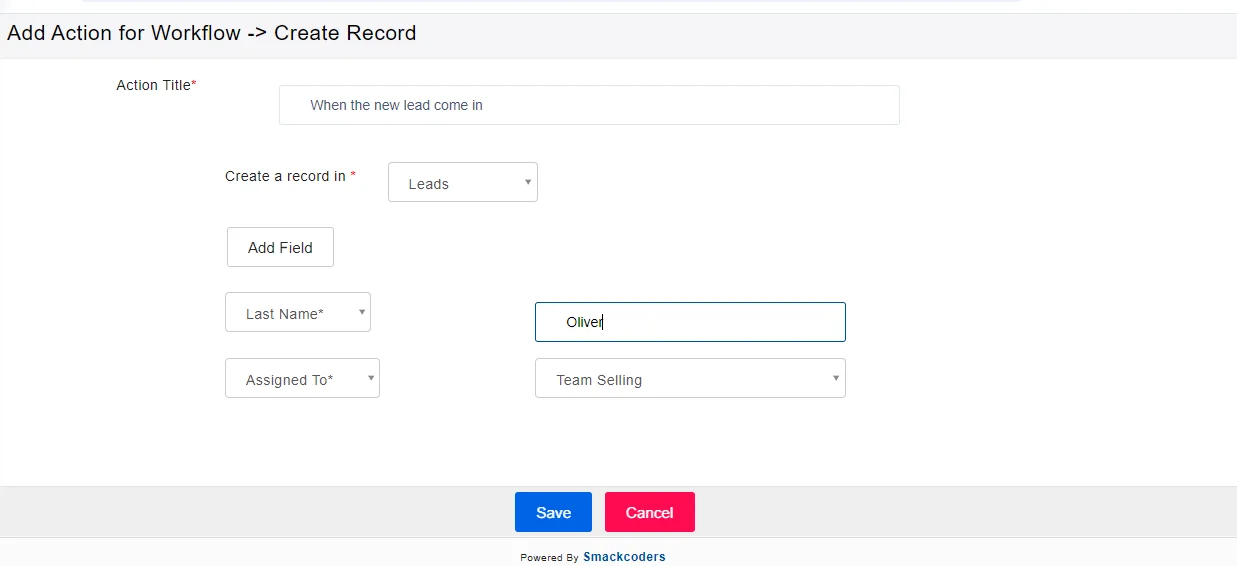
- Create Record – To create a record in a different module. This represents a parent-child relationship, the parent – is the module on which the workflow condition is satisfied. The child – represents the newly created record, once the parent record workflow is satisfied.
- Enter a suitable title for your Action
- Choose the module on which the child record needs to be created.
- Once chosen the module displays the mandatory fields of that module
Now add the desired values for the fields. You can also add additional field values by clicking Add Field.


